What is Hugo
Hugo is one of the most popular open-source static site generators. Users can quickly build their own websites using Hugo.
Setup Steps
Install Hugo
On a Mac, you can use the following command to install Hugo:
brew install hugo

After installation, you can check if it’s installed properly using hugo version:

Create a Blog Website with Hugo
Once Hugo is installed, you can use it to create your own blog website.
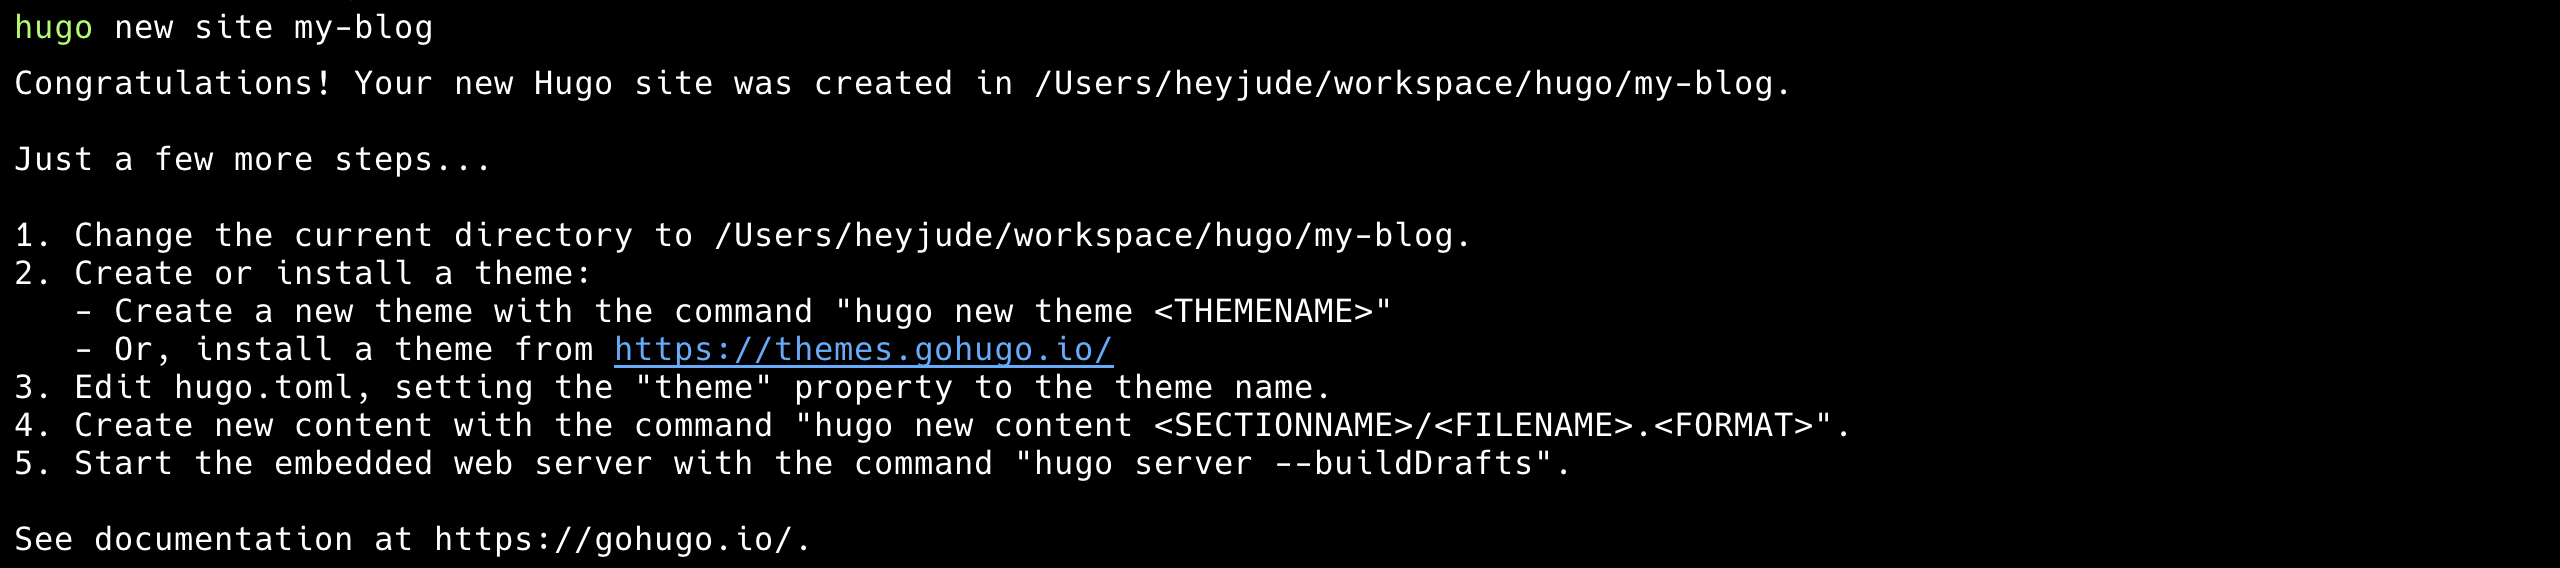
Use hugo new site my-blog to create a site named my-blog.
cd my-blog
git initChoose a Theme
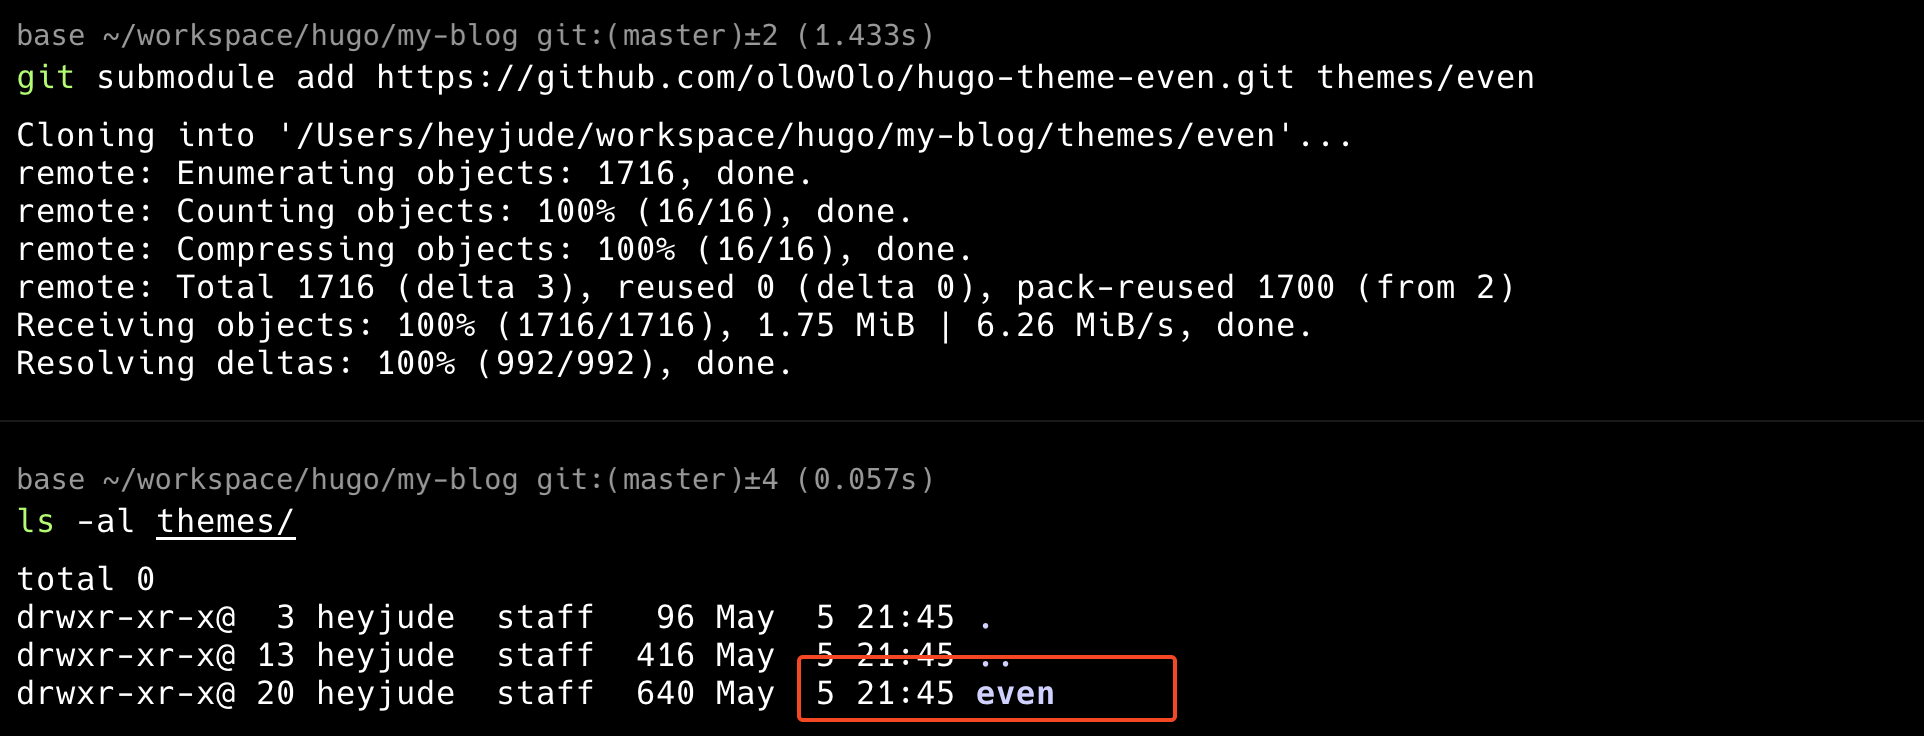
After creating the website, you need to choose a theme. There are many themes available for selection: hugo themes Here, I am choosing the hugo-theme-even theme. At this point, it needs to be added as a submodule under themes/even.
git submodule add https://github.com/olOwOlo/hugo-theme-even.git themes/even
themes/even/exampleSite/config.toml to the current directory and overwrite hugo.toml
cp themes/even/exampleSite/config.toml hugo.tomlCreate a Blog Post
Once the theme is configured, you can create your own blog post.
Use hugo new content/content/post/my-first-post.md to create a blog post.
You can see that a new md file will appear under content/post/ after executing this command.

Run Hugo
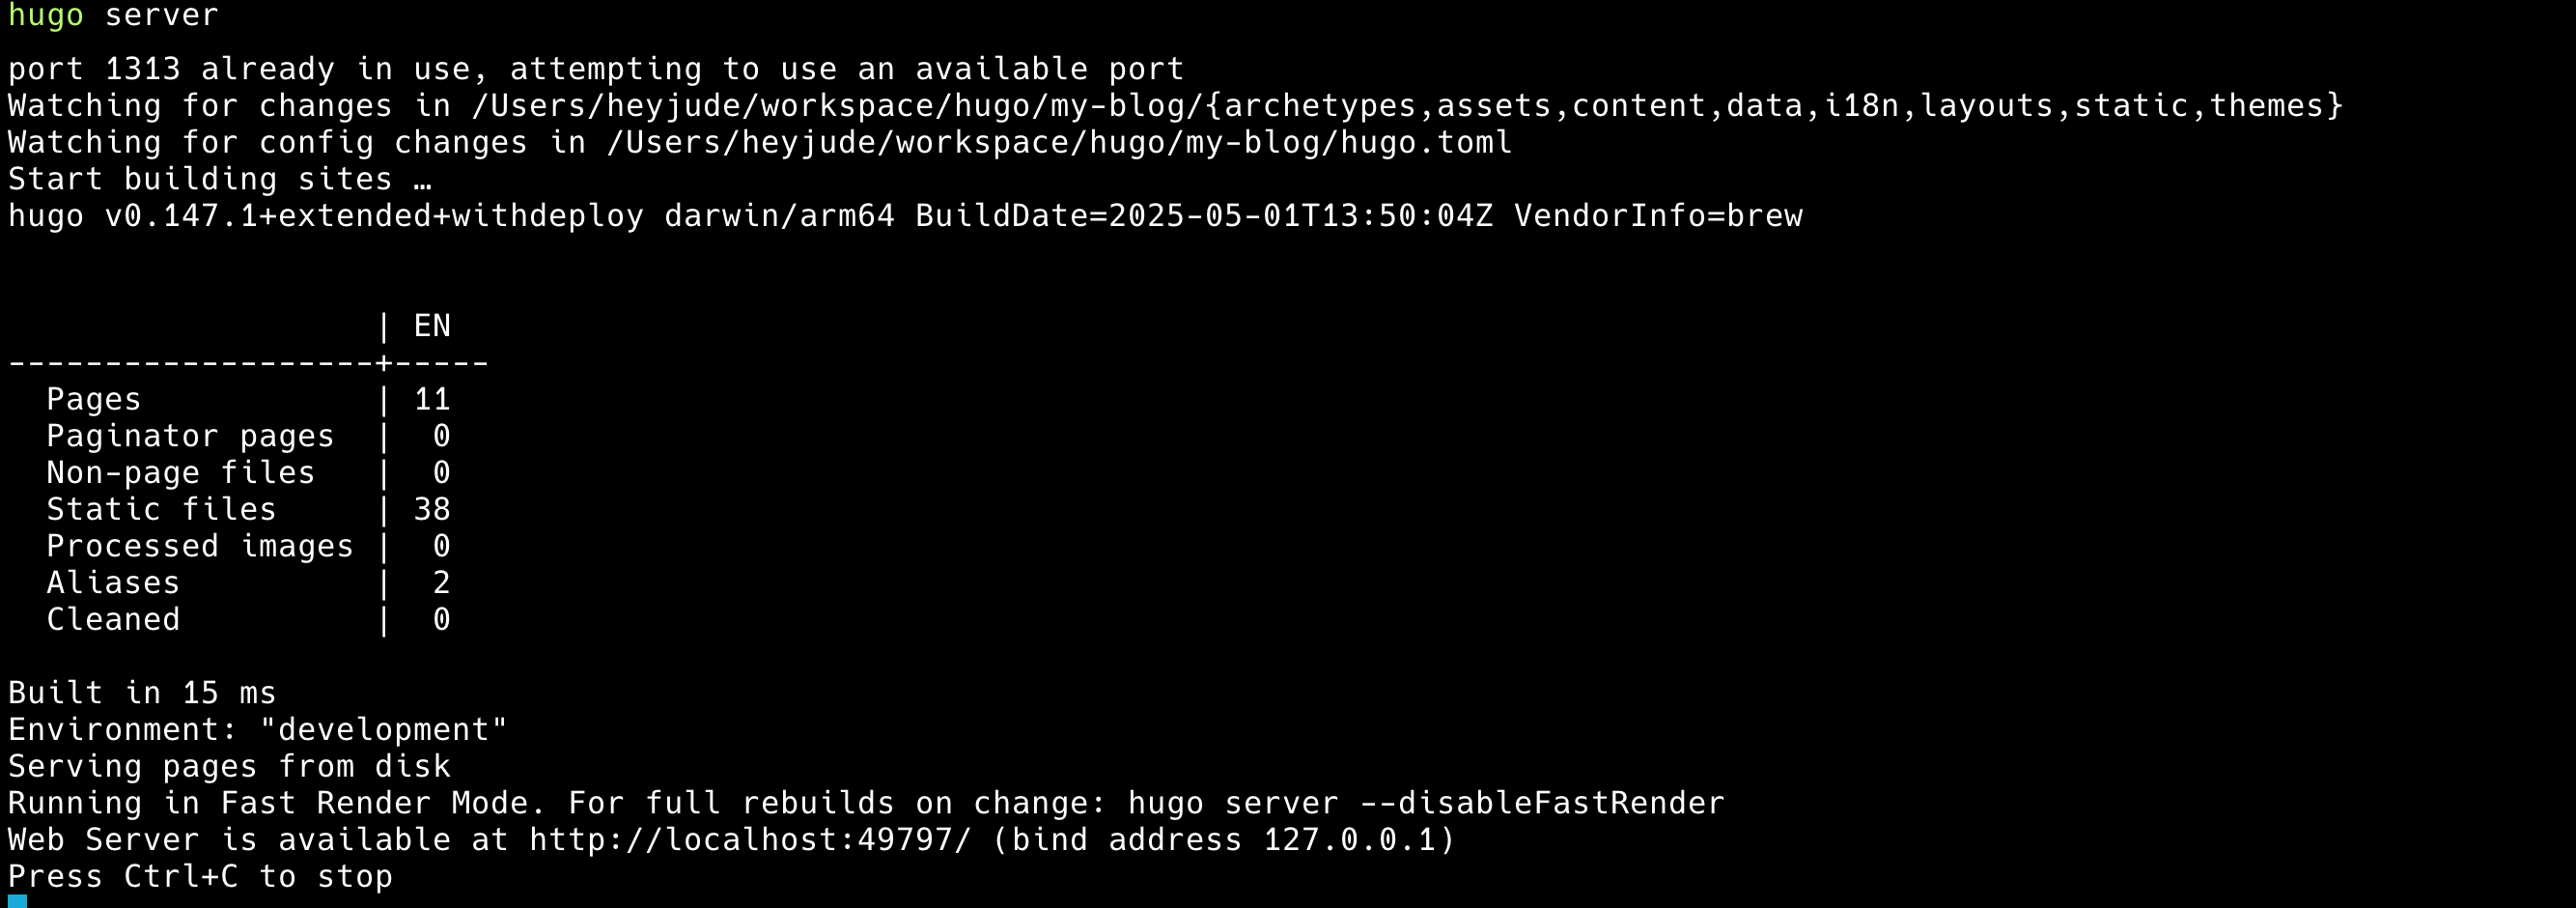
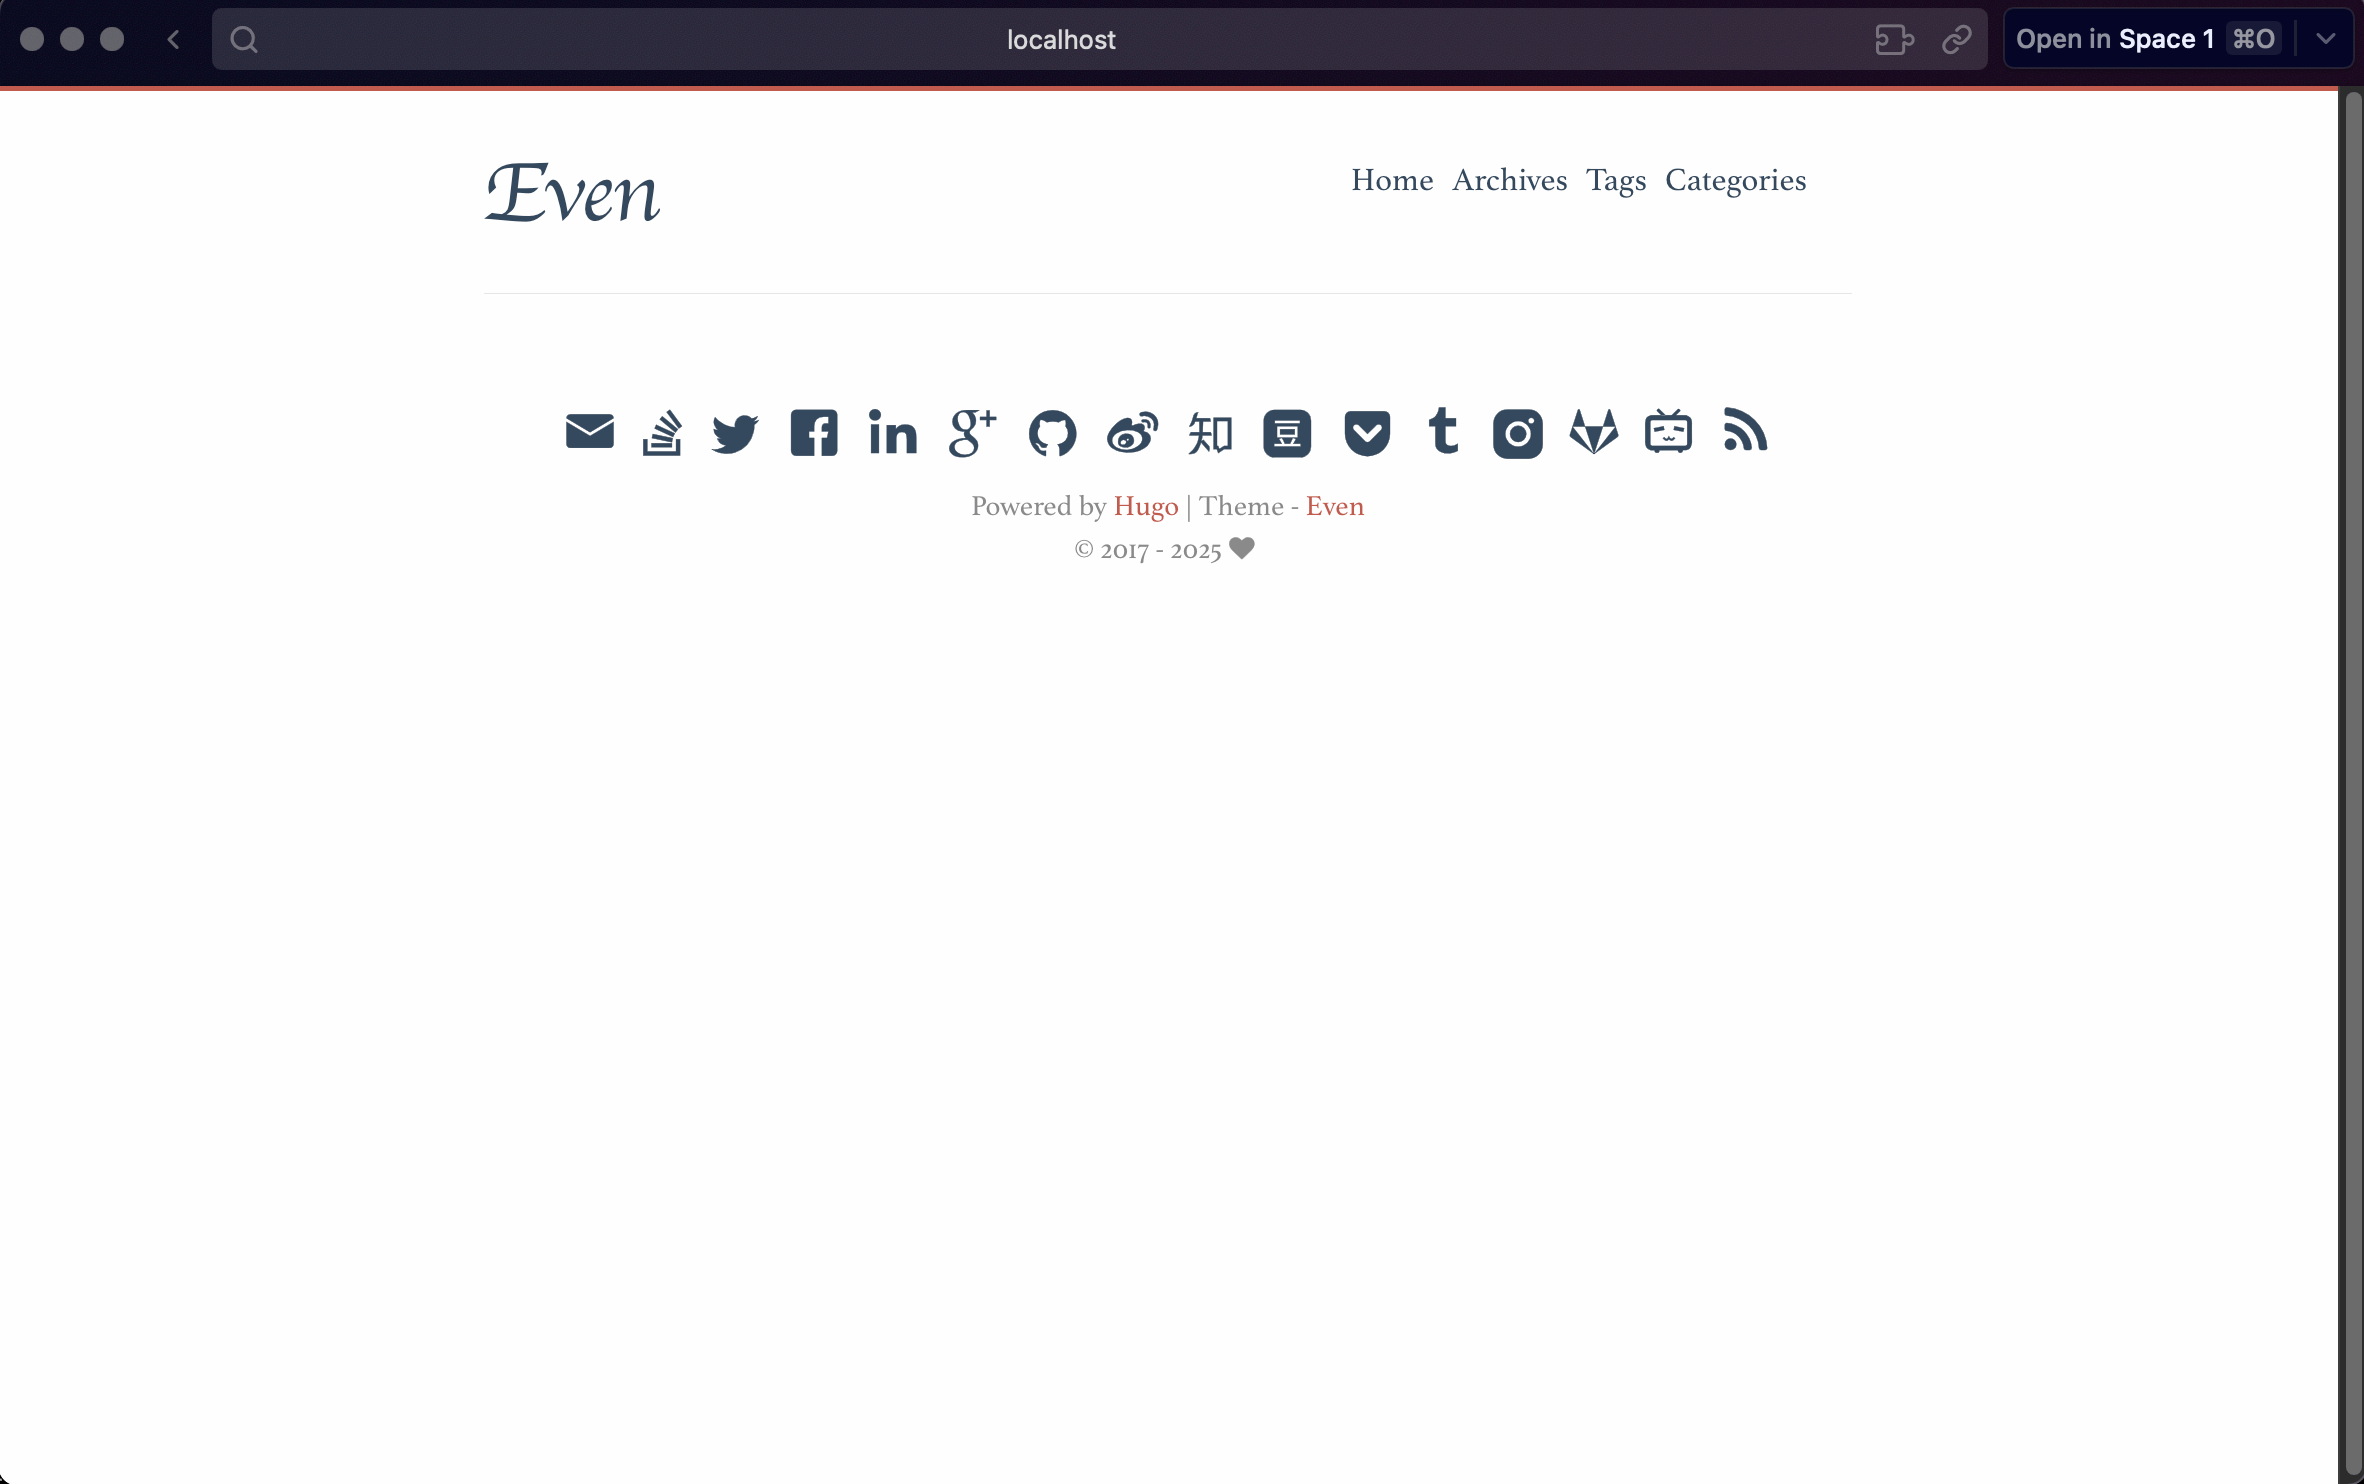
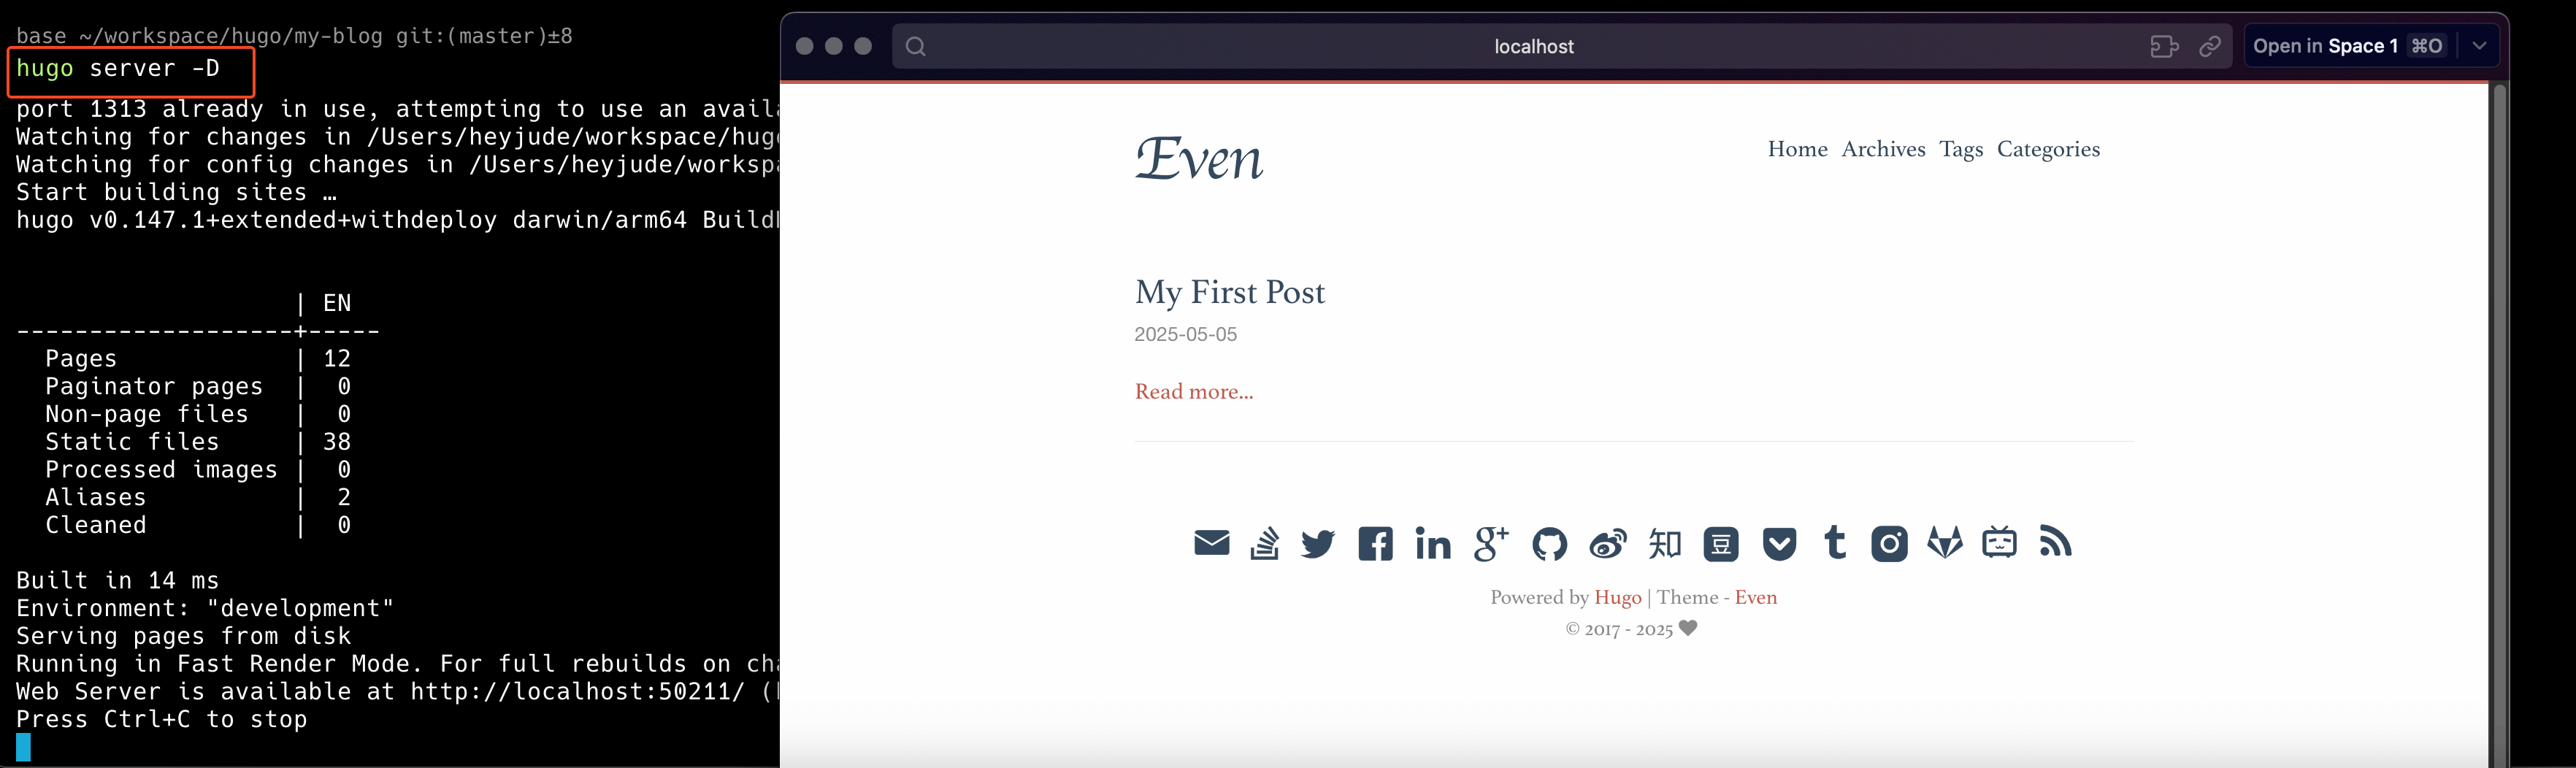
Once the previous configurations are done, you can start a Hugo server using hugo server.
draft, and it will not be displayed in hugo server mode.
To show it, you need to use hugo server -D.
With this, you can complete the setup of your blog website.
Save the Local Blog to GitHub
- Log in to GitHub and create a new repository (e.g., heyjude-blog).
- Add the local repository as a remote:
git remote add origin https://github.com/yourusername/myblog.git
git pushThis way, you can save your blog to GitHub.
Comments