Umami is a simple, fast, and privacy-focused open-source website statistics tool, making it an ideal alternative to Google Analytics. This article will guide you on how to deploy Umami on Vercel and create a Neon PostgreSQL database via Vercel Storage, to build a zero-cost, lightweight website traffic statistics system. This tutorial is specifically optimized for Hugo static site users, ensuring that the generated Markdown files are compatible with Hugo’s static site generation.
Introduction
For personal blogs or small to medium-sized websites, Google Analytics may be too complex and inconvenient to access in certain regions. Umami offers a clean interface with core metrics, making it suitable for lightweight traffic analysis needs. With Vercel’s serverless deployment and the Neon database integrated through Vercel Storage, we can quickly set up an efficient statistics system without server maintenance costs.
Here are the detailed deployment steps.
Preparations
Before starting, ensure you have the following:
- GitHub Account: To fork the Umami repository.
- Vercel Account: To deploy Umami and create the Neon database.
- Neon Account: Registered, to connect via Vercel Storage.
- A running Hugo website (or other static site) to embed Umami’s tracking code.
Step 1: Fork the Umami Repository
- Visit the official Umami GitHub repository: https://github.com/umami-software/umami.
- Click the Fork button in the top right corner to fork the repository to your GitHub account.
- (Optional) If you need to customize Umami, you can clone the repository locally for modifications, but this tutorial uses the default configuration.
Step 2: Deploy Umami on Vercel
- Log in to the Vercel website, click Add New > Project.
- On the Import Git Repository page, select the Umami repository you just forked.
- Configure the project:
- Framework Preset: Choose Next.js (Umami is built on Next.js).
- Environment Variables: Skip for now; you will configure the
DATABASE_URLfor the Neon database later.
- Click the Deploy button, and Vercel will automatically build the project (it may fail initially due to the lack of a database connection, which will be fixed later).
Step 3: Create Neon Database in Vercel Storage
- In the Vercel dashboard, go to your Umami project.
- Click the Storage tab in the top navigation, then select Create Database.
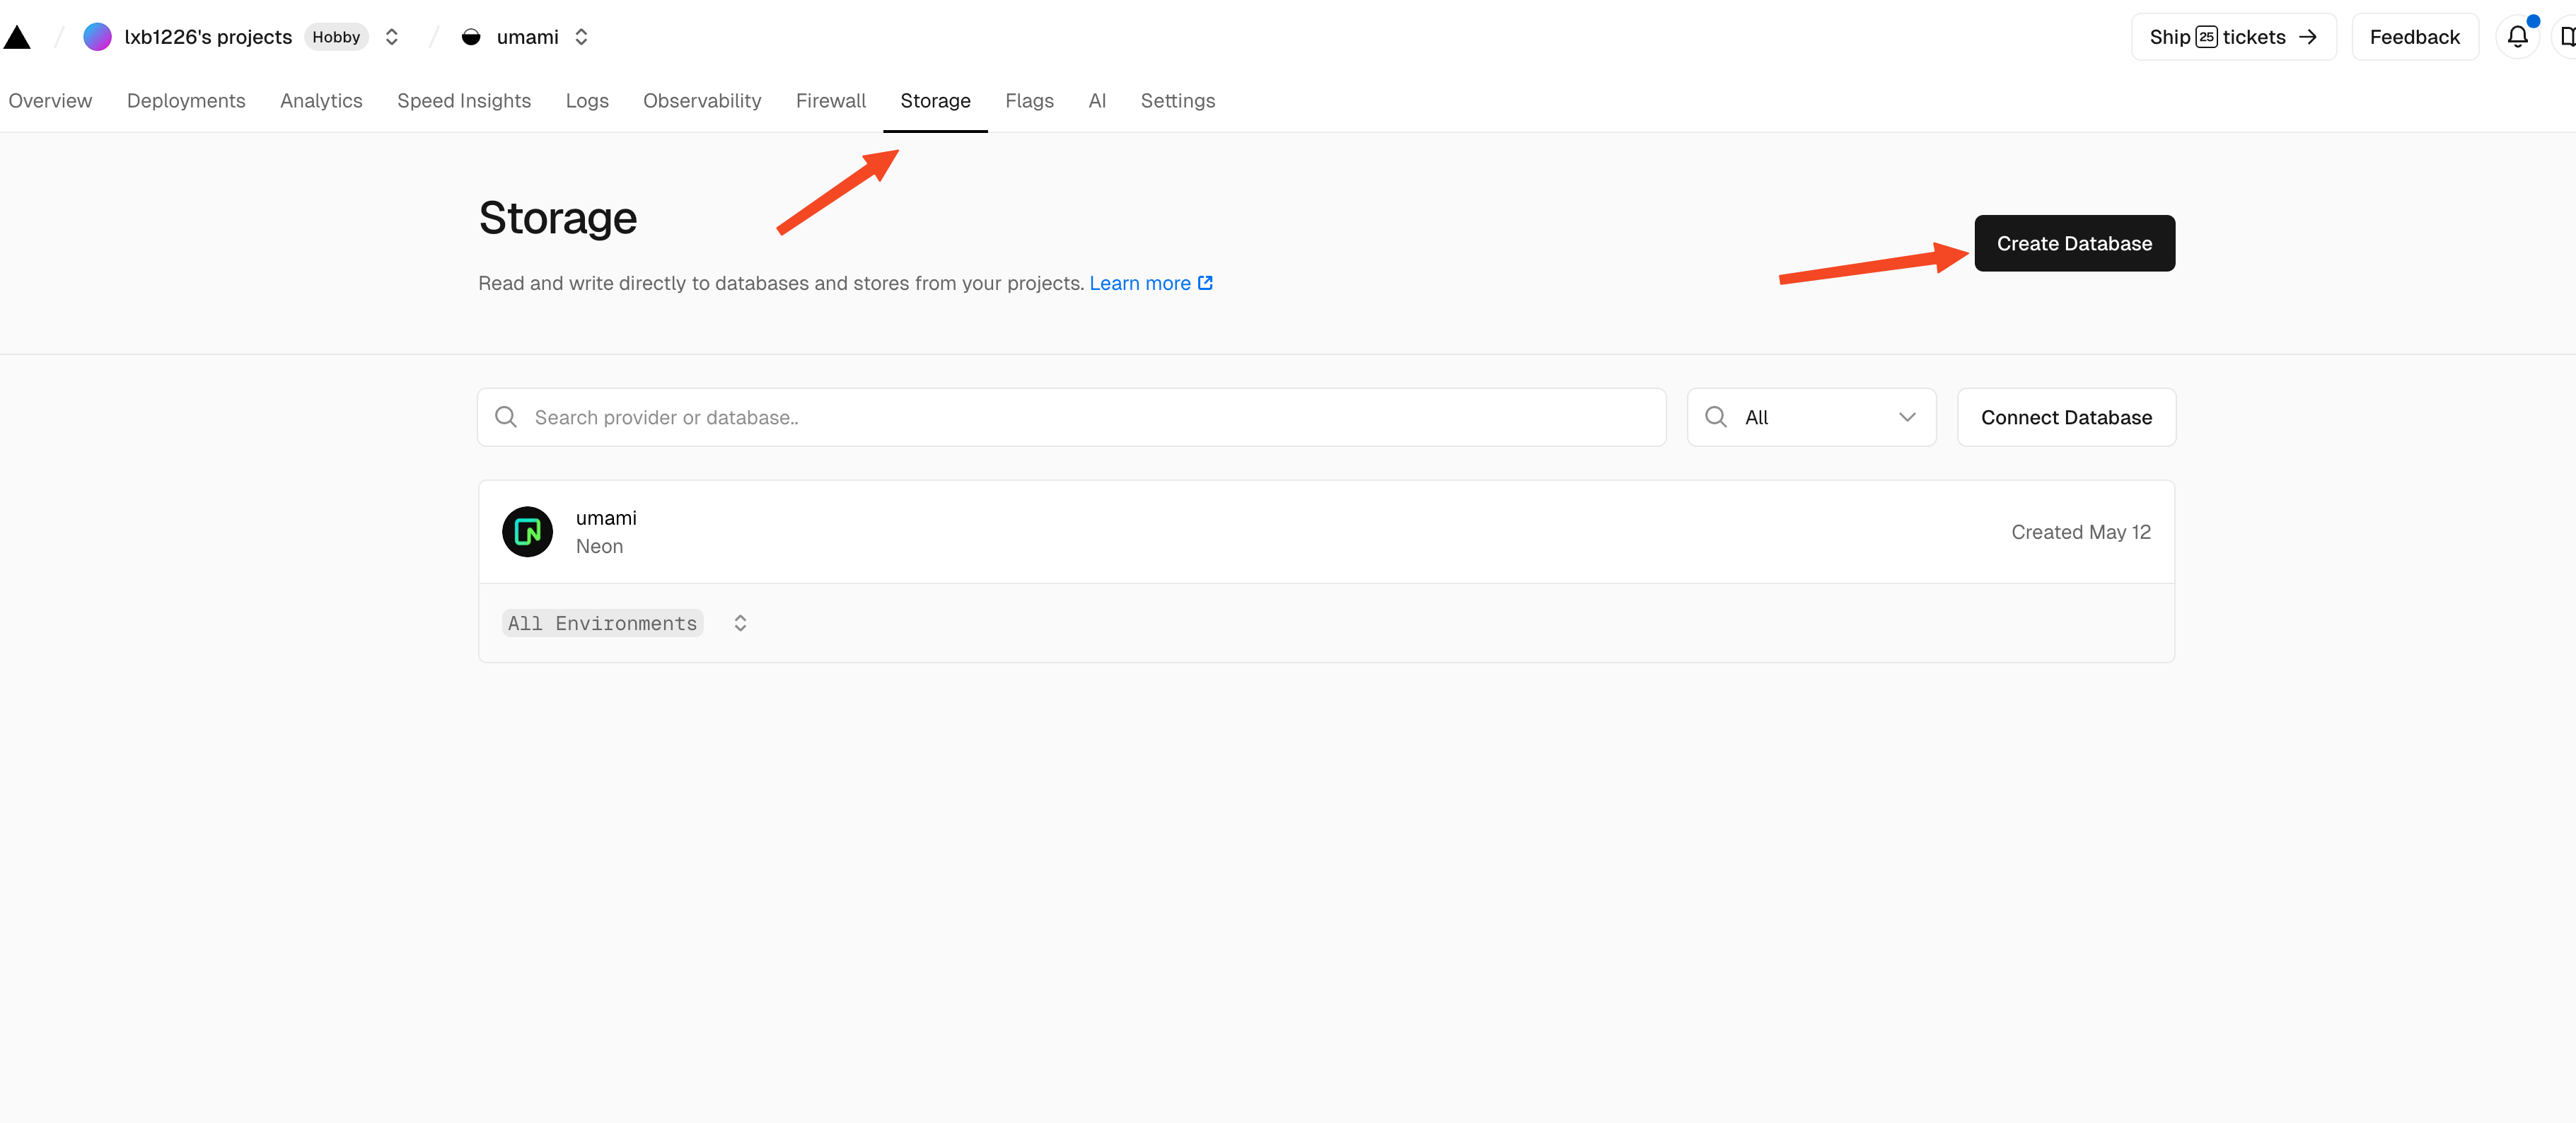
- Select Neon under Database Type and log in to your Neon account to authorize Vercel access.
- Configure the database:
- Project Name: Any name, for example,
umami-project. - Database Name: It is recommended to use
umami. - Cloud Service Provider: Choose your region (e.g., AWS Asia region) to reduce latency.
- Project Name: Any name, for example,
- Upon creation, Vercel will automatically generate a DATABASE_URL and add it to the project’s environment variables in the following format:
PLAINTEXT
postgresql://[username]:[password]@[host]/[database] - Go back to the project settings to confirm that
DATABASE_URLis included in the Environment Variables. - Redeploy the project: Click the Deployments tab, select the latest deployment, and click Redeploy.
Step 4: Configure Umami
- Once deployed, click Visit to view your Umami instance, and note the assigned default domain name (e.g.,
your-project.vercel.app). - Visit the Umami website, and the default login credentials for the first time are:
- Username:
admin - Password:
umami
- Username:
- Change the password immediately after logging in for security.
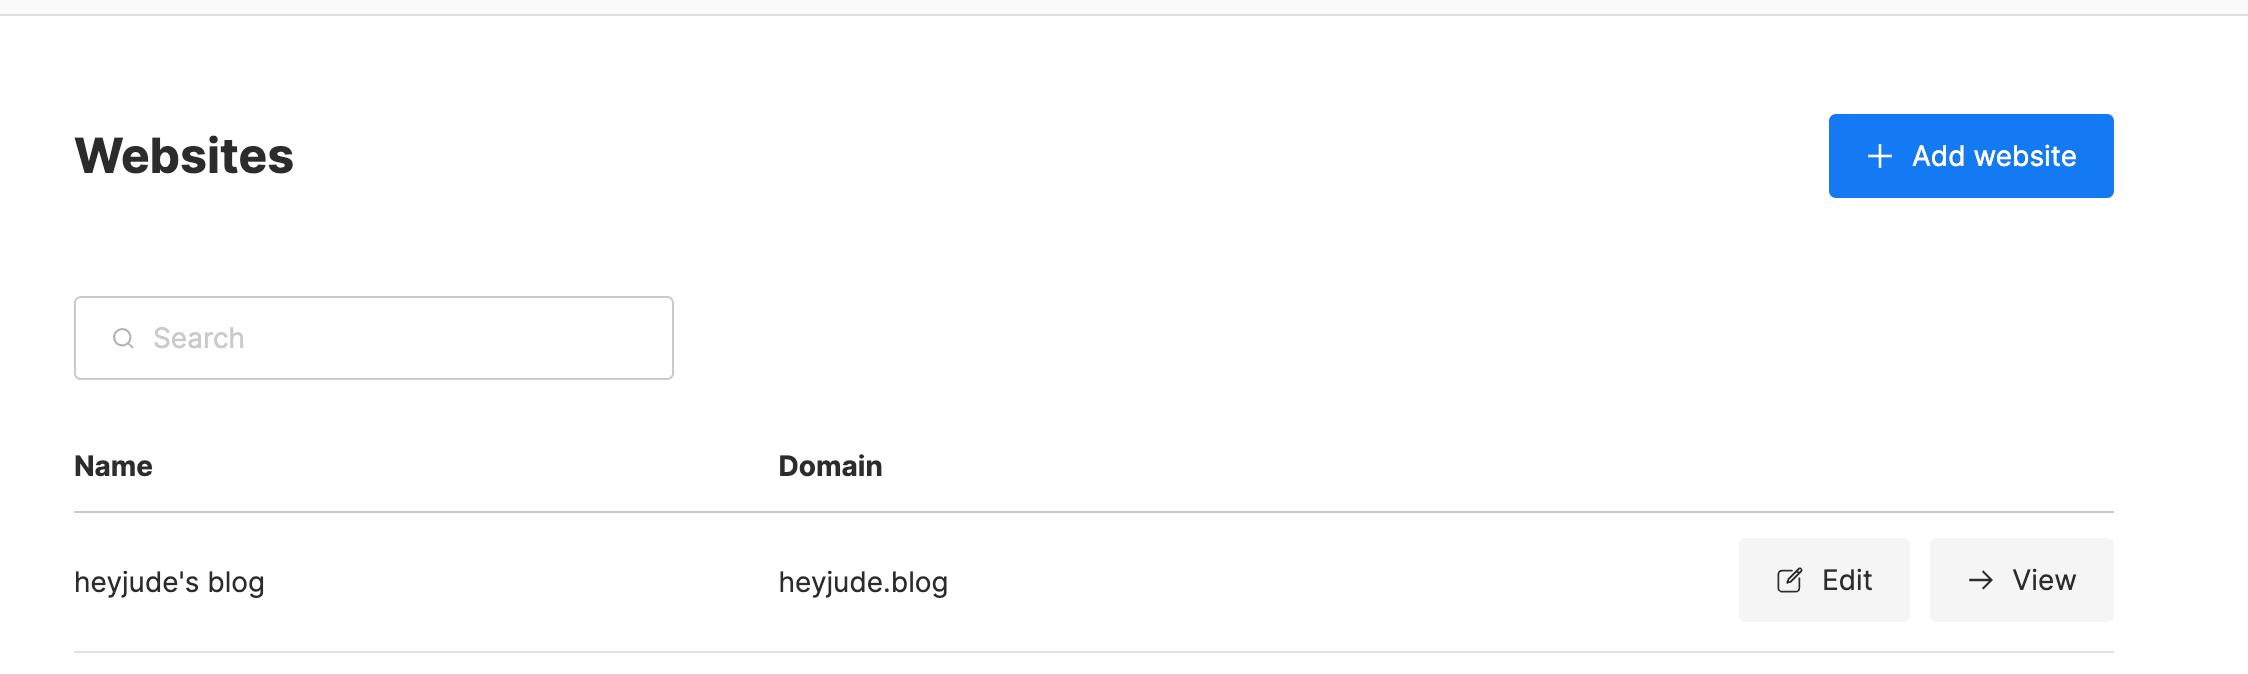
- In the Umami dashboard, click Add Website, and enter your website information (e.g., domain, name).
- Umami will generate a JavaScript tracking code in the following format:
Copy this code.HTML
<script async src="https://your-project.vercel.app/umami.js" data-website-id="YOUR_WEBSITE_ID"></script>
Step 5: Embed Tracking Code in Hugo Website
To allow Umami to track your Hugo website traffic, you need to embed the tracking code into your website. This generally requires that the Hugo theme you are using supports it; if not, you will need to modify the Hugo theme yourself.
Here, I am using the hugo-narrow theme, which supports Umami configuration. Thus, you can configure it in the hugo.yaml file:
  analytics:
    enabled: true
    umami:
      enabled: true
      id: "YOUR_WEBSITE_ID"
      src: "https://your-project.vercel.app/umami.js"
domains: ""Replace YOUR_WEBSITE_ID with the website ID you created in Umami. The src also needs to be updated to your deployed Umami project domain on Vercel.
Then visit your website, and Umami will start collecting traffic data.
Step 6: Validation and Optimization
- Return to the Umami dashboard and wait a few minutes to check if any traffic data is recorded.
- Verify if the tracking code is working properly:
- Open the browser’s Developer Tools (F12), switch to the Network tab, refresh the page, and confirm whether there is a request to
your-project.vercel.app/api/collect.
- Open the browser’s Developer Tools (F12), switch to the Network tab, refresh the page, and confirm whether there is a request to
- (Optional) Customize Umami dashboard:
- Add multiple websites for tracking.
- Configure data sharing links to easily share statistics with your team.
- Adjust Umami’s theme or language settings to support a Chinese interface.
Notes
- Neon Free Tier: The Neon database created via Vercel Storage has limits on storage and compute time, suitable for small websites. If traffic is high, consider upgrading to a paid plan.
- Vercel Free Tier: Vercel’s free plan offers 100GB bandwidth per month, sufficient for most personal website needs.
- Privacy Compliance: Umami focuses on privacy, but ensure your website complies with GDPR or other privacy regulations (such as operating in regions like the EU).
- Security: Regularly back up your Neon database and ensure that the Umami admin account uses a strong password.
Conclusion
With Vercel and its integrated Neon database, you can set up a powerful, zero-cost website traffic statistics system in just minutes. Umami’s clean interface and core features are perfect for Hugo blog users, meeting the needs for tracking visits, analyzing sources, and monitoring page performance.
If you have any questions or need further optimization, feel free to discuss in the comments! I hope this tutorial helps you better understand your website traffic.
References
- Umami Official Documentation: https://umami.is/docs
- Vercel Storage Documentation: https://vercel.com/docs/storage
- Neon Database Configuration Guide: https://neon.tech/docs
- Hugo Documentation: https://gohugo.io/documentation/
Comments