hugo是什么
Hugo 是最受欢迎的开源静态网站生成器之一。用户可以使用 Hugo 来快速搭建自己的网站。
搭建步骤
安装hugo
在mac上面,可以使用以下命令来安装hugo:
brew install hugo

安装完之后可以使用 hugo version 来查看是否安装好:

使用hugo创建blog网站
安装完 hugo 之后,就可以使用 hugo 来搭建自己的blog网站了。
使用hugo new site my-blog 来创建一个名为 my-blog 的网站。
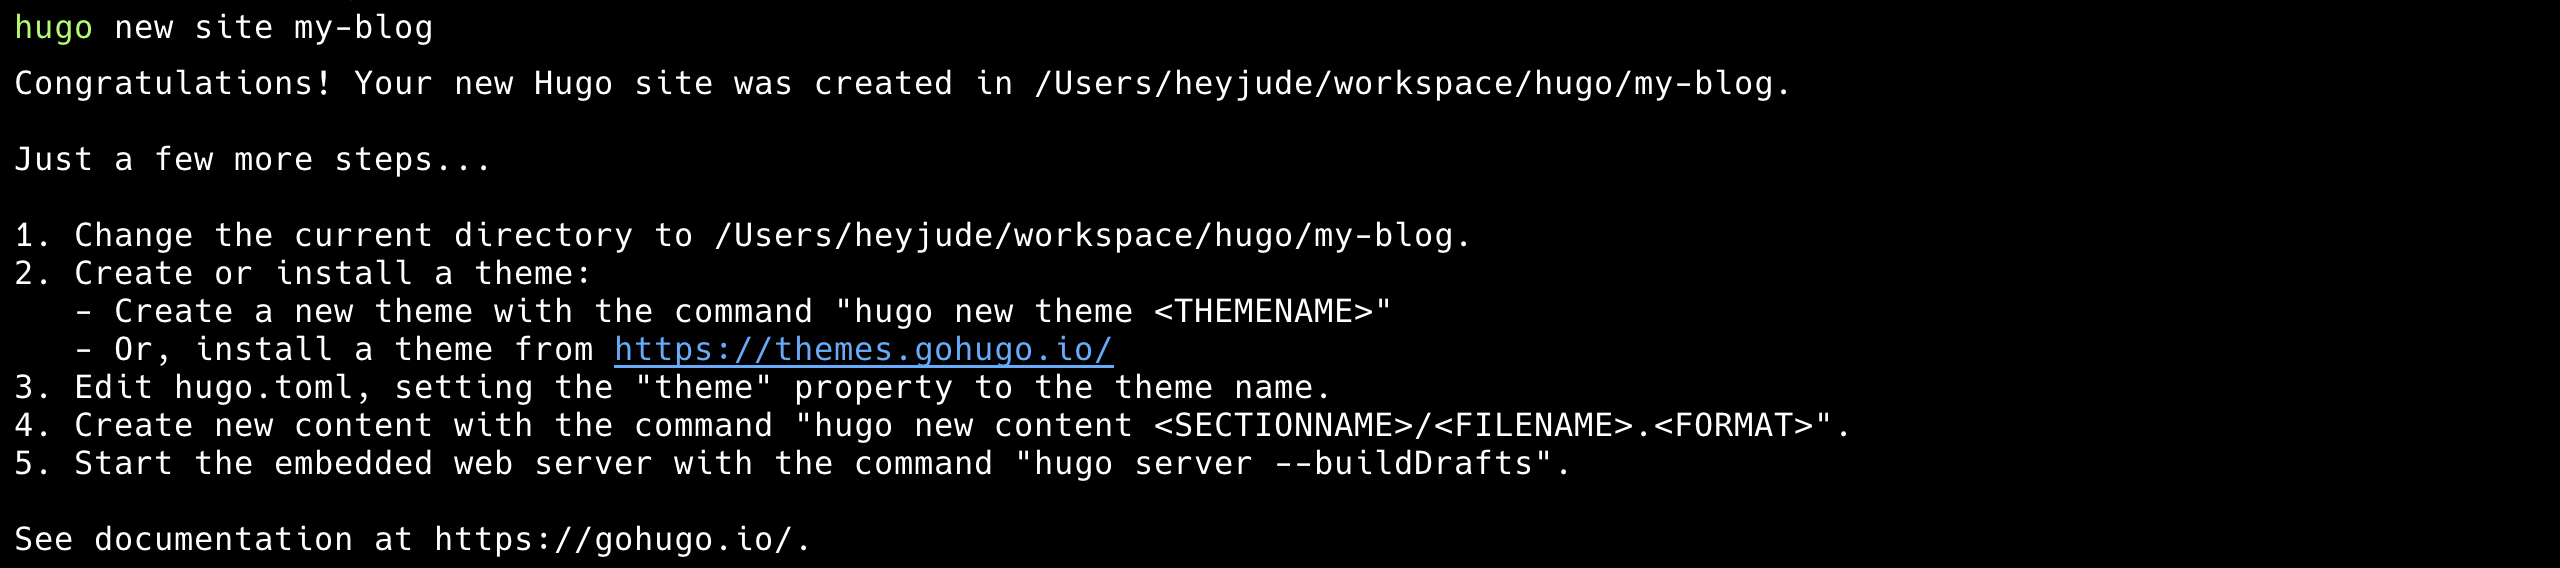
cd my-blog
git init选择一个theme
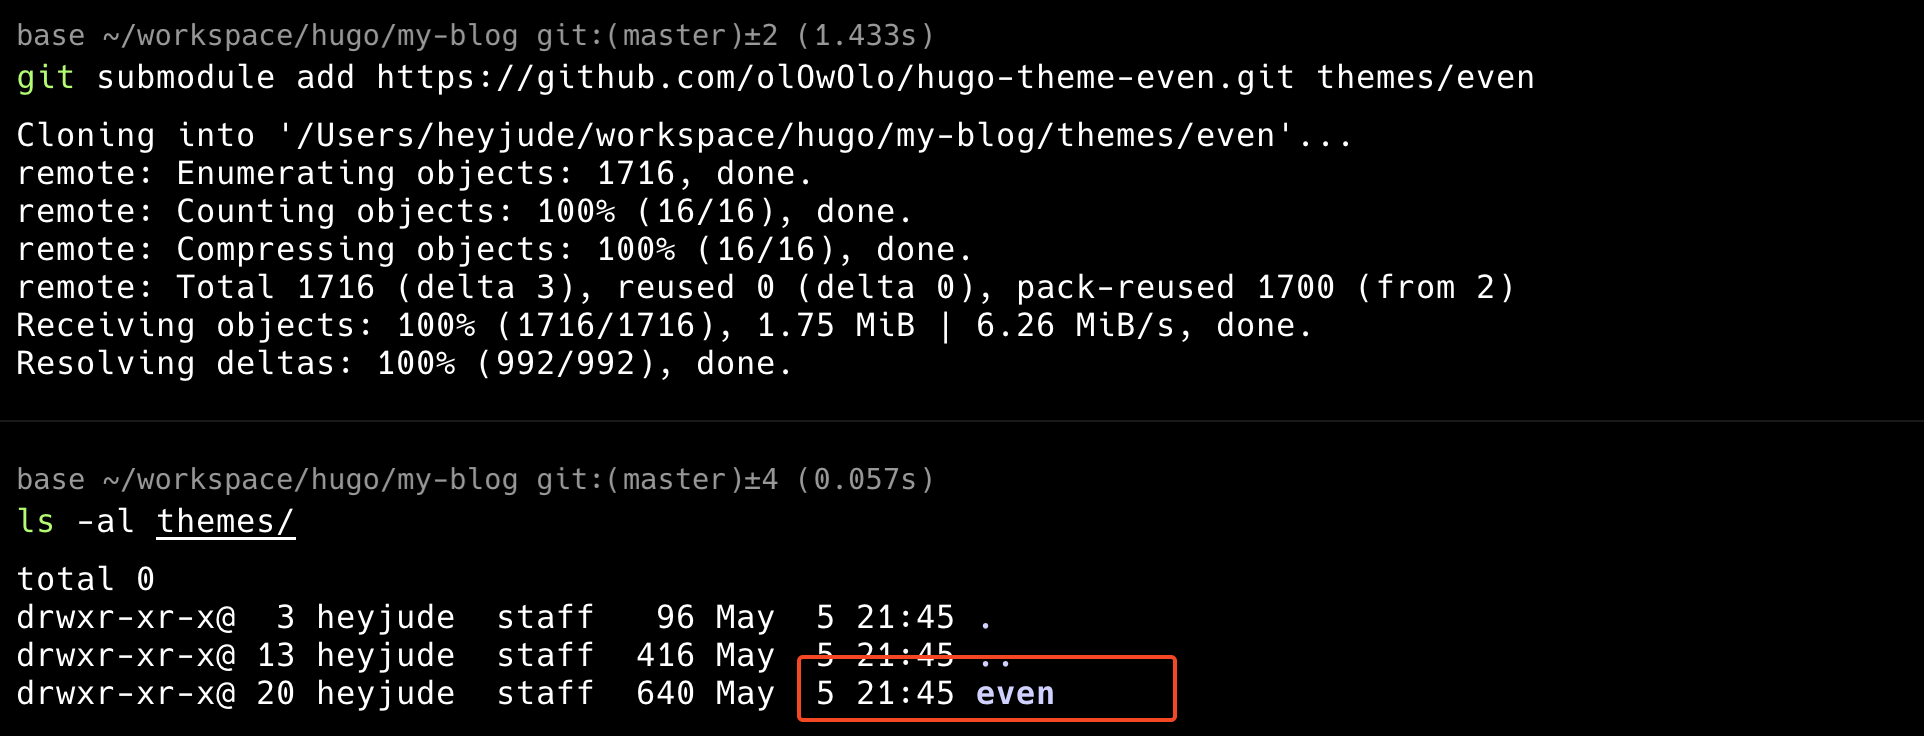
在创建好网站之后,需要选择一个theme。这里有很多主题可供选择:hugo themes 在这里我选择的是 hugo-theme-even 这个主题。此时需要将其作为一个 submodule 放在themes/even下面。
git submodule add https://github.com/olOwOlo/hugo-theme-even.git themes/even
themes/even/exampleSite/config.toml 拷贝到当前目录,并覆盖 hugo.toml
cp themes/even/exampleSite/config.toml hugo.toml创建一篇blog
当配置好主题之后,就可以创建自己的blog了。
使用hugo new content content/post/my-first-post.md 即可创建一篇blog。
可以看到当执行完该命令后,在 content/post/ 下面会出现一个新的md文件。

运行hugo
当前面的配置好之后,就可以使用 hugo server 来启动一个hugo server。
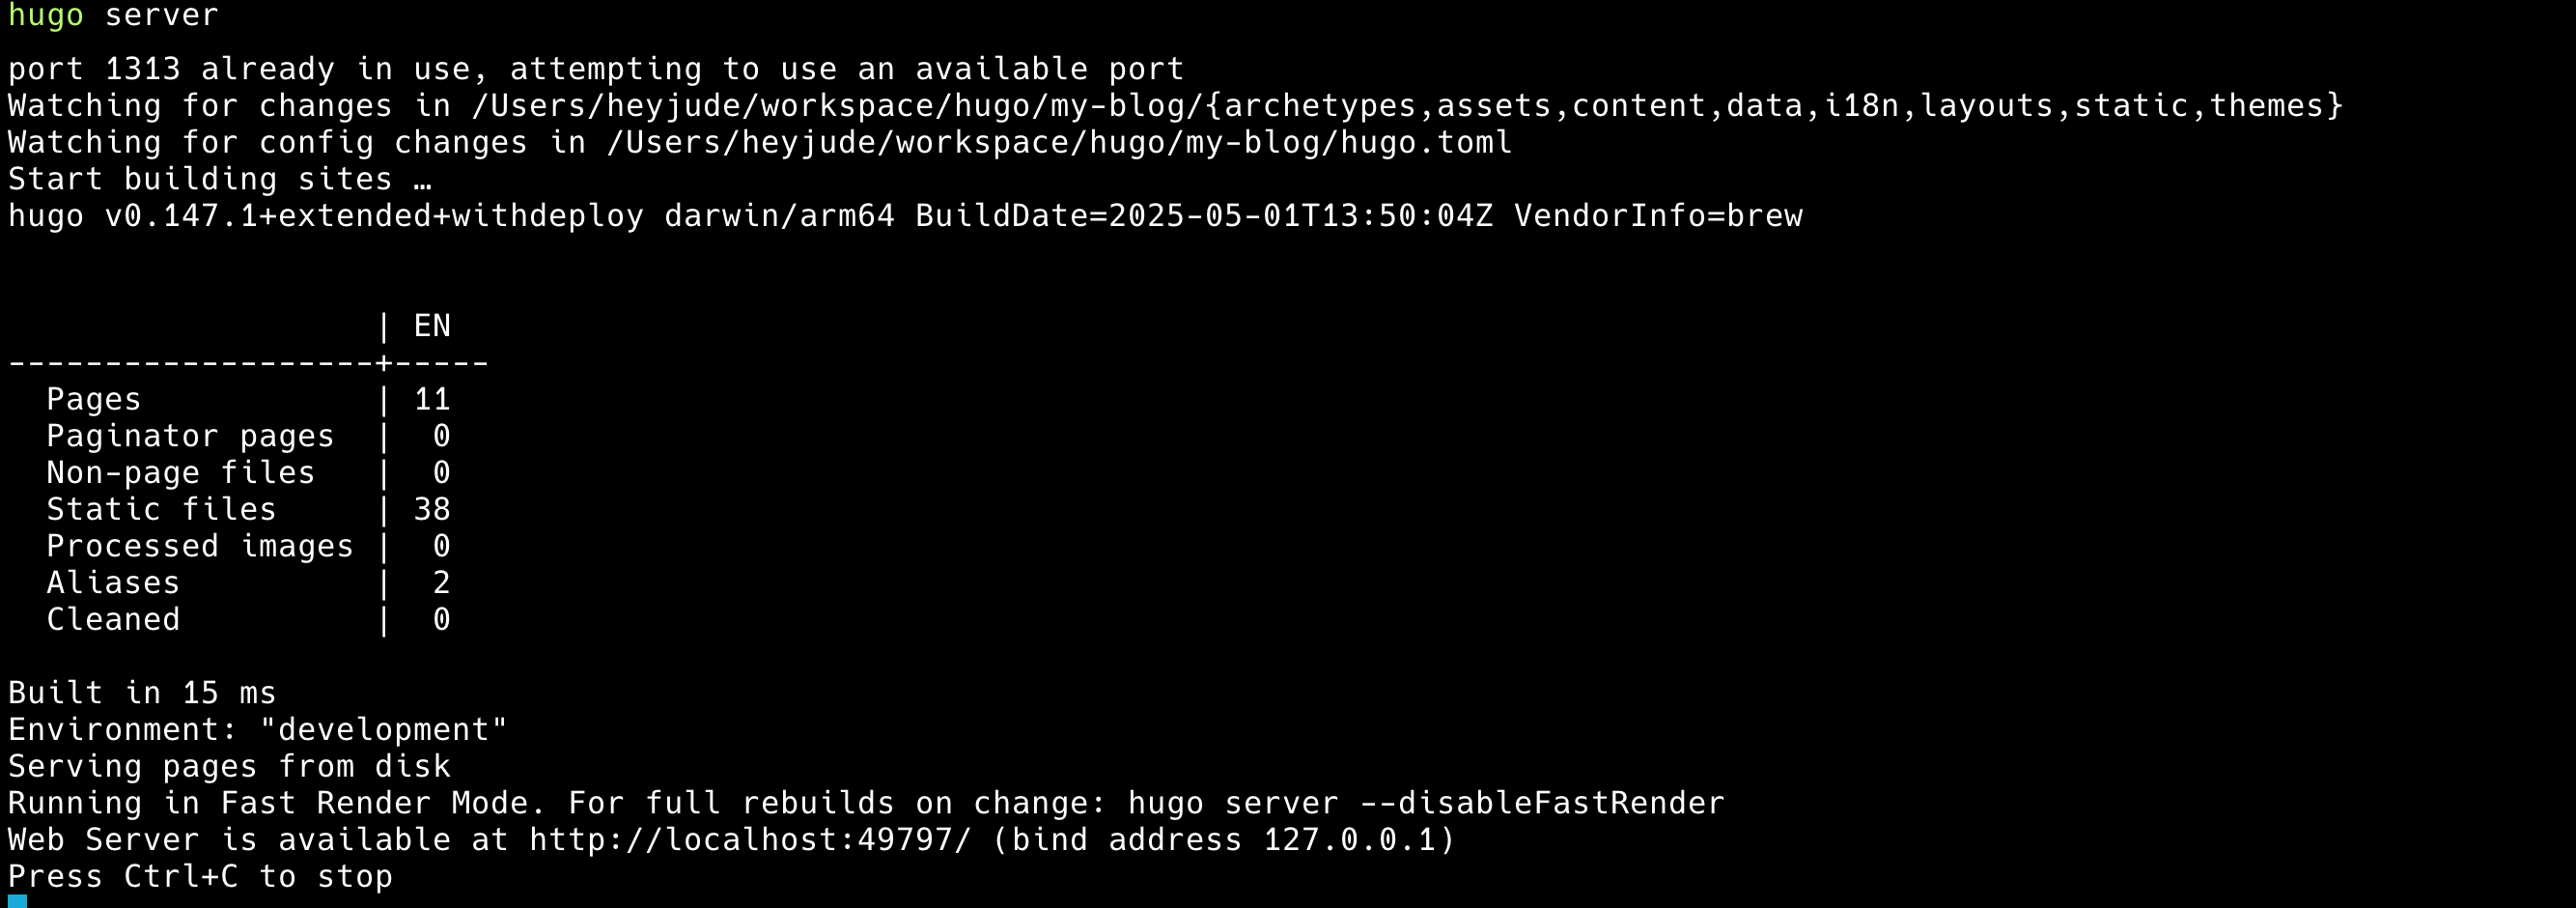
draft,在hugo server 模式下并不会显示draft的blog。
如果需要显示,则需要使用hugo server -D。
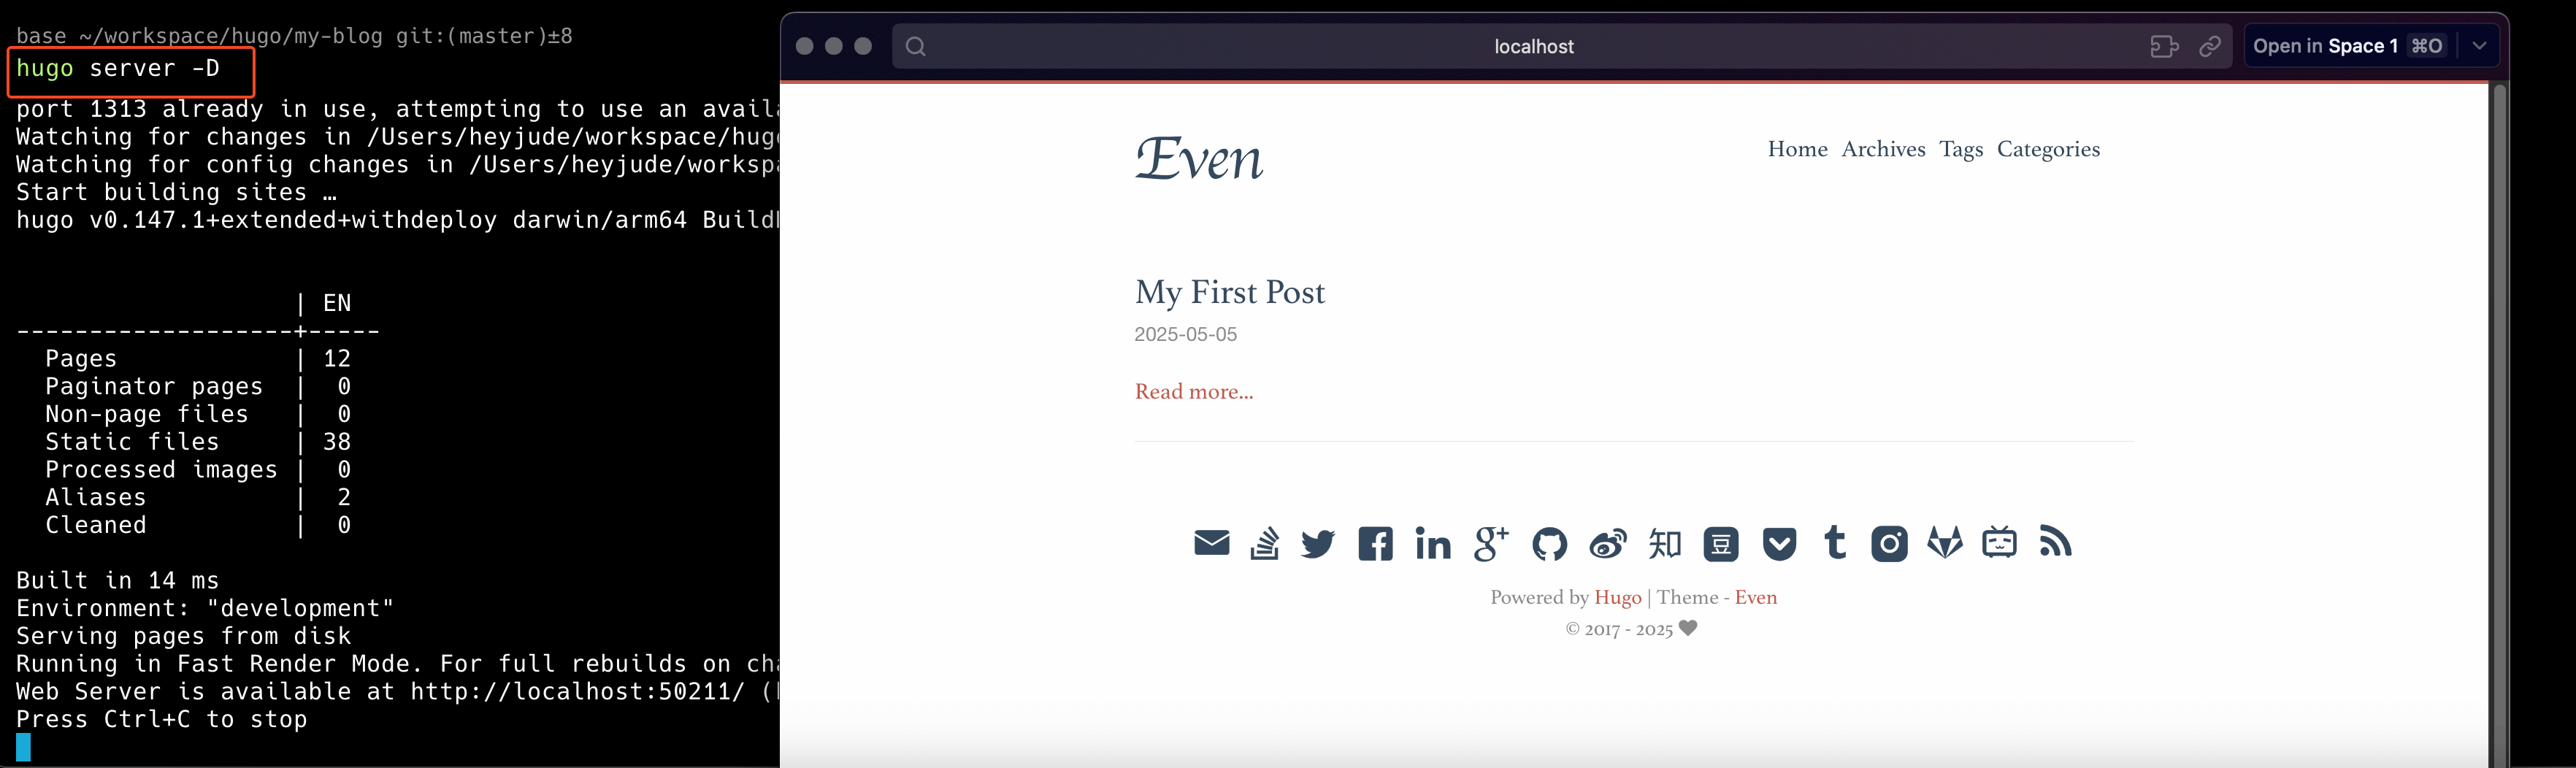
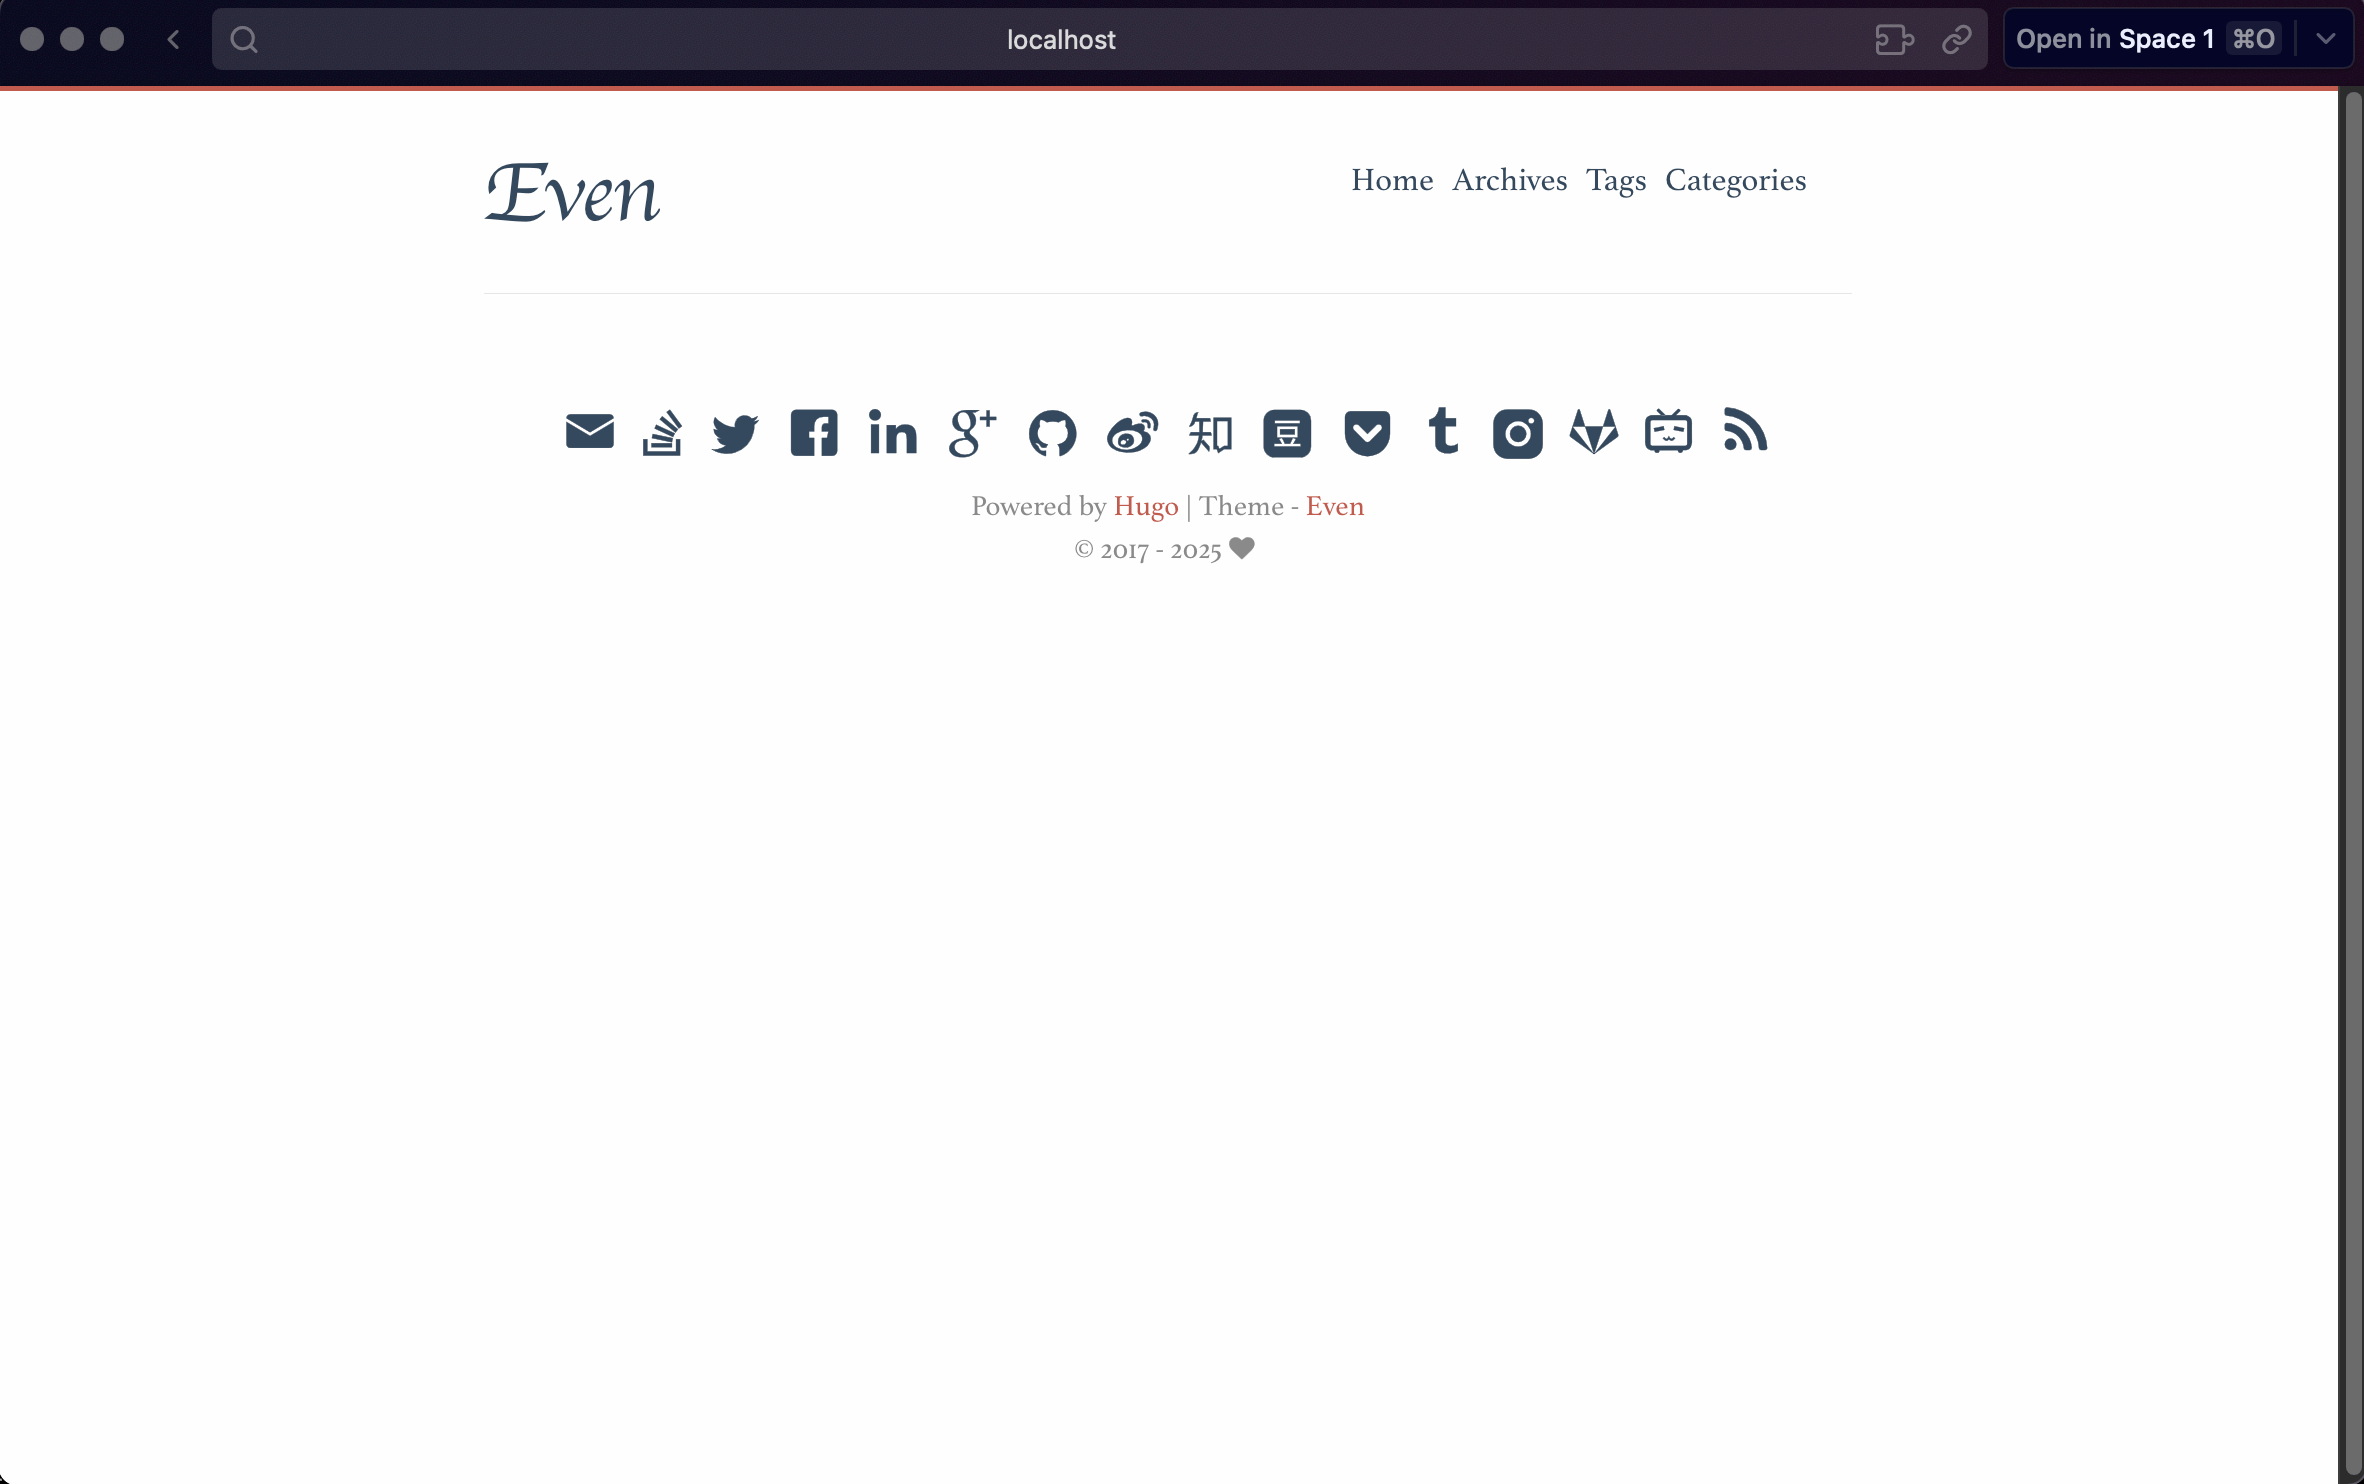
以上就可以完成了blog网站的搭建了。
保存本地的blog到GitHub
- 登录GitHub, 新建一个仓库(例如heyjude-blog)
- 将本地仓库添加为远程:
git remote add origin https://github.com/yourusername/myblog.git
git push这样即可保存你的blog到GitHub。
评论